 1300 199 480
 contact@goldcoastshowerscreens.com.au


Why Understanding the Installation Process Matters
Knowing what is involved helps homeowners understand why shower screen installation is not like assembling flat-pack furniture. A correct installation:
- Prevents leaks that can damage walls, cabinetry and flooring
- Keeps the screen structurally safe, especially with heavy frameless glass
- Ensures compliance with Australian safety glazing standards
- Protects the waterproofing membrane
- Supports hardware longevity — hinges, rollers and seals only work when perfectly aligned
Most shower screen failures come from:
- Incorrect measurements
- Drilling into waterproofing
- Using the wrong fixings
- Poor silicone work
- Forcing glass into frames
- Installing screens outside the waterproofed area
These mistakes are expensive to fix — and often invisible until the damage is done.
Why DIY Shower Screen Installation Is Risky
Even confident DIYers get caught out by shower screens because:
- Glass is heavy and unforgiving: Thick frameless glass can exceed 50kg. One twist or knock can cause chips, cracks or full breakage.
- Small alignment errors cause big problems: If the screen is even a few millimetres out:
- Doors won’t close properly
- Seals won’t engage
- Water will escape
- Hinges will strain and eventually fail
- Drilling incorrectly can void your waterproofing: If a screw penetrates the membrane below, water can migrate unseen for months before swelling cabinetry or causing mould behind tiles.
- Silicone sealing must be done in a specific order: Most leaks come from:
- The wrong silicone
- Silicone applied to a wet or dirty surface
- Gaps in corners or bases
- Not allowing proper curing time
- Compliance matters: Australian Standards outline strict rules on:
- Safety glass
- Fixing methods
- Hardware
- Clearances
- Door swing and egress
These strict shower screen installation requirements are the reason DIY work does not come with a Form 15/16 compliance certificate — meaning no certificate of occupancy can be issued.
Types of Shower Screens and What They Mean for Installation
A shower screen’s design dictates how complex the installation will be:
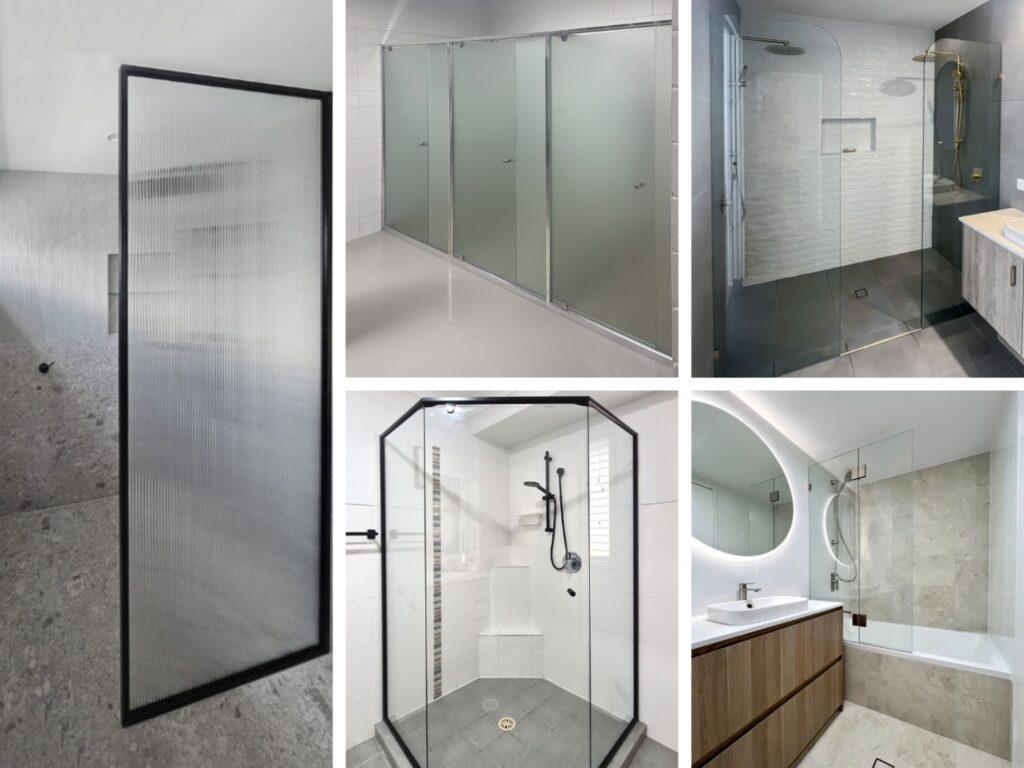
- Framed Screens
- More forgiving on uneven walls
- Still require accurate sealing
- Common in budget or older homes
- Semi-Frameless Screens
- Require cleaner alignment
- Exposed edges can chip if handled incorrectly
- Frameless Screens
- Heaviest and least forgiving
- Require precision drilling and exact tolerances
- Should never be installed by an inexperienced DIYer
- Sliding Screens
- Need perfect rail alignment
- Require correct fall so water drains inside the screen
- Incorrect installation leads to noisy rollers or binding doors
The more minimal the screen, the more precision required.
So… How Do You Actually Install a Shower Screen?
Here’s the honest answer: You shouldn’t. Not if you want it watertight, safe, compliant, and long-lasting. Instead of providing risky DIY instructions, here’s what a professional shower screen installation includes:
- Multi-point measurement after tiling
- Identification of waterproofing boundaries
- Checking walls for plumb and floors for fall
- Selecting correct fixing points
- Safe handling of heavy glass with suction gear
- Perfect alignment of panels, hinges and seals
- Professional silicone sealing for watertight protection
- Compliance certification under Australian Standards
This is work that requires training, experience, and specialist tools.
Most Common Installation Mistakes (and Why They Matter)
These are the errors we are called in to fix most often:
- Leaks from poor silicone application
- Doors hitting vanities or towel rails
- Drilled waterproofing causing hidden water damage
- Glass breakage from incorrect handling
- Screens installed outside the waterproofing hob
- Roller systems that fail prematurely
- Misaligned panels that never “sit right”
Every one of these issues costs more to fix later than the price of professional installation upfront.
How to Keep Your Shower Screen Performing Its Best
Whether your screen is new or existing, long-term performance comes from:
- Wiping down glass after showers
- Keeping tracks and seals clean
- Replacing worn seals before they fail
- Maintaining ventilation
- Refreshing silicone when it dulls or lifts
These simple habits prevent mould, wear and water problems.
Final Thoughts: Should You Install a Shower Screen Yourself?
If you are a licensed glazier — yes.
If you are anyone else — no.
A shower screen is not just glass; it is a structural and waterproofing component of your bathroom. When installed incorrectly, the damage can be extremely expensive and often hidden until it’s too late.
For a safe, precise and compliant installation — and to protect your bathroom from long-term water issues — professional installation is always the smart choice.
Our team can handle removal, measurement, manufacturing and installation, ensuring everything is sealed, aligned and built to last. You may also like to explore how Gold Coast Shower Screens can assist with your next project.

Enhance Space And Light With Mirrored Wardrobes
 Apr. 10, 2024
How Do Frameless Shower Screens Compare With Traditional Shower Enclosures?
Apr. 10, 2024
How To Choose Between Framed Vs Frameless Shower Screen For Your Bathroom
Apr. 10, 2024